How to use backing tracks on stage
Using backing tracks on stage allows solo musicians and small bands to perform with a full band sound during live performances. A backing track player handles the parts that aren’t being played live while the singer or musicians perform the rest.
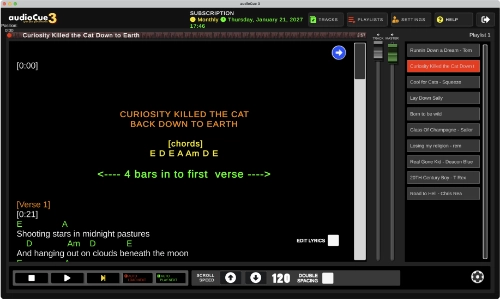
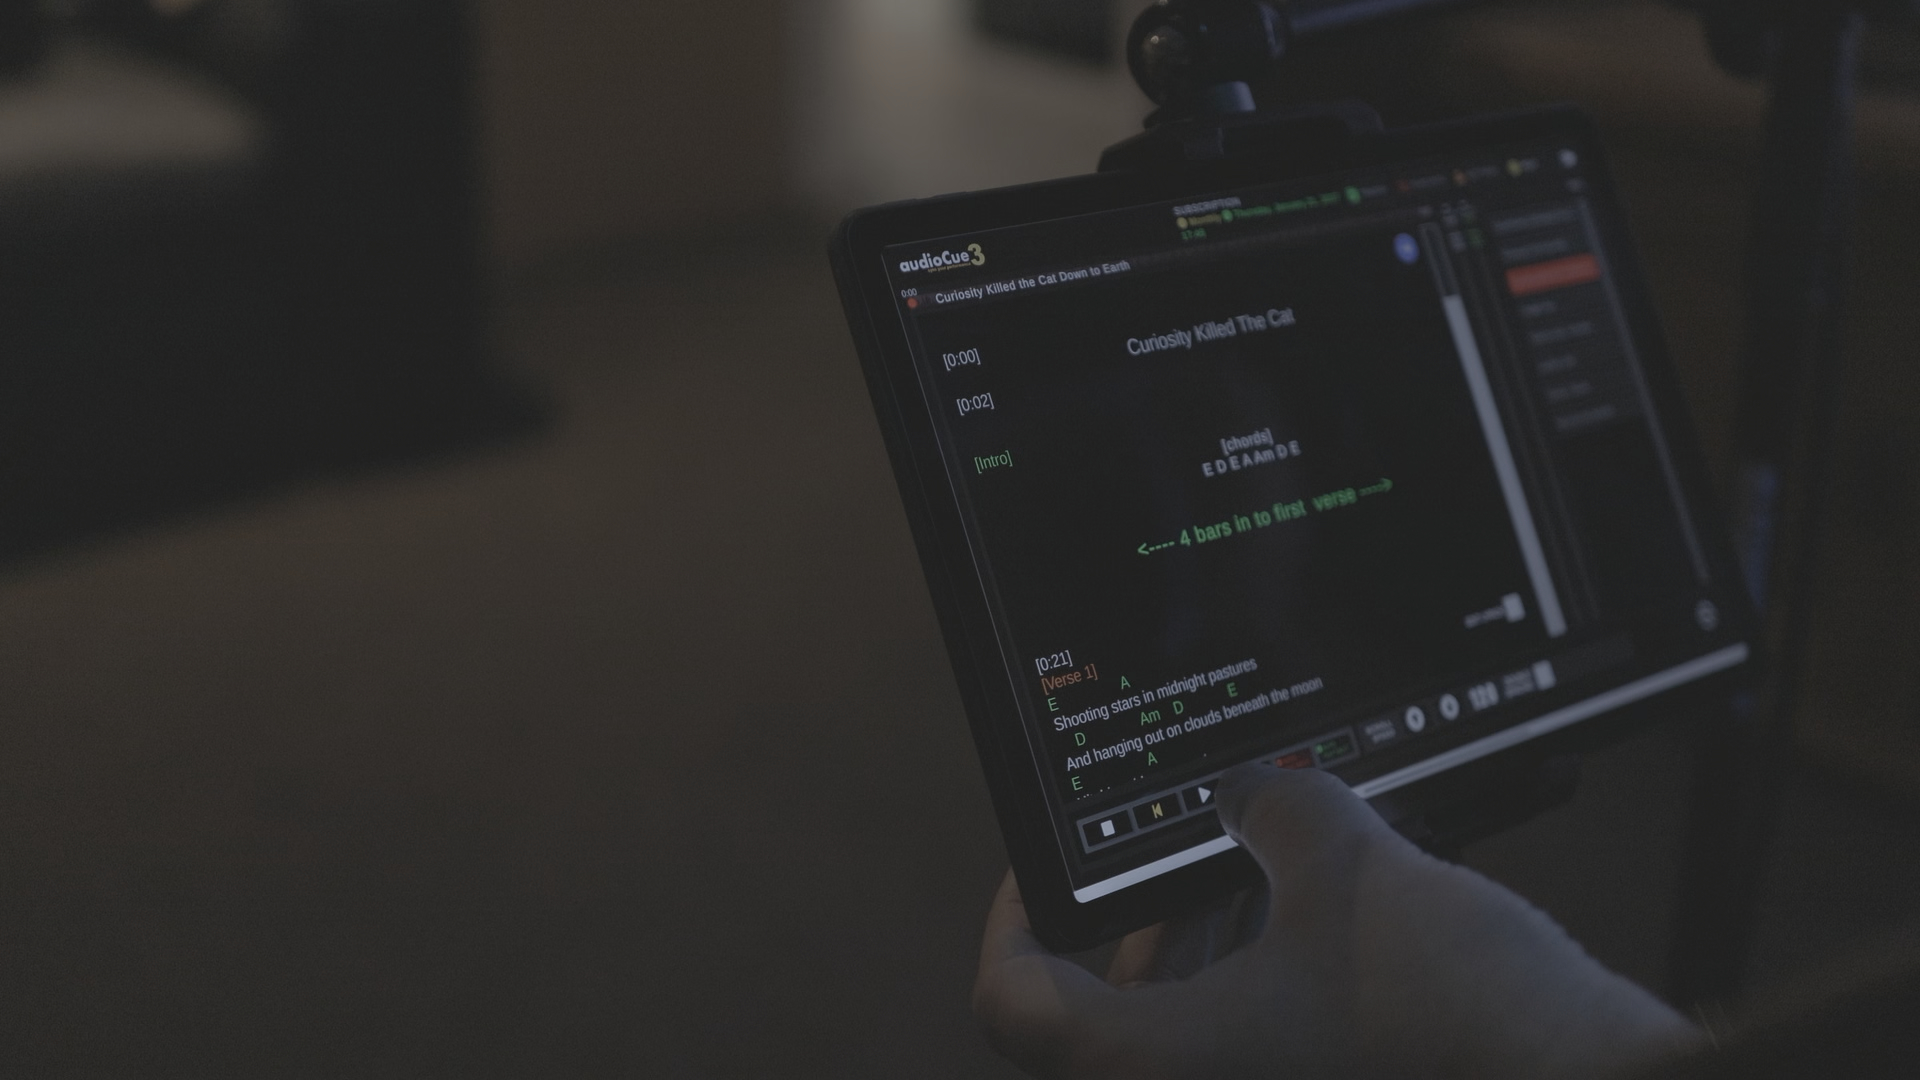
Most performers run their backing tracks from a laptop, tablet, or phone connected to a mixer or PA system. The tracks are controlled using simple playback software designed for live performance.
Why Musicians Use Backing Tracks on Stage
Backing tracks have become common in live music, especially for solo performers and duos.
They allow musicians to recreate the sound of a full band without needing several extra players on stage. Backing tracks can include instruments like:
- drums
- bass
- keyboards
- backing vocals
- orchestral parts
A singer or guitarist can then perform the remaining parts live while the backing track fills out the arrangement. As a singer and guitarist performing solo gigs, I use backing tracks to recreate the full sound of the original songs. I remove the parts I perform live — vocals and guitars — and leave the rest of the instruments in the track.
What Gear You Need to Run Backing Tracks Live
To use backing tracks live you will need a few pieces of equipment.
- Device to play the tracks - Laptop or tablet
- Backing Tracks Software
- A PA system and a Mixer
- Microphone and instruments
The backing tracks are played from your tablet or laptop directly to your mixer. This allows you to control the sound, EQ the sound for the room and control the levels of the inputs (eg mic, guitar and the backing track).
How to Set Up Backing Tracks for a Live Gig
Setting up backing tracks for a gig is straightforward.
First, prepare your backing track files. Most musicians use MP3 or WAV files for their songs. I personally use Karaoke Version to source tracks, but any backing tracks will work.
Next, load the tracks into your backing track player software and organise them into a set list for your performance.
Before your gig begins:
Connect your device to your mixer or PA system
Plug in your microphone and instruments
Set all mixer levels to zero
Play a track and slowly raise the volume
Adjust mic and instrument levels to balance the mix
Once everything sounds right, you’re ready to perform.
A useful trick is to take a photo of your mixer settings after your sound check. That way you can quickly recreate the same setup at future gigs.
Download audioCue free
Download audioCue to the devices you already own. Your backing tracks will be ready in minutes.
Unlimited Access
- £5 per month
- No daily limit
- Unlimited tracks
- Unlimited playlists
- Priority Support
Free
- Access for 1 hour per day
- Unlimited tracks
- Unlimited playlists
- Forum/Community support